Remodeling a home is a challenge that is totally worth it.
A little over two months ago, my boyfriend Austin and I bought our first home together. It definitely needed some help but we were up for the challenge. Here’s the play-by-play for those who love to live vicariously. We hope you enjoy reading about and seeing our progress along the journey!
Week #1
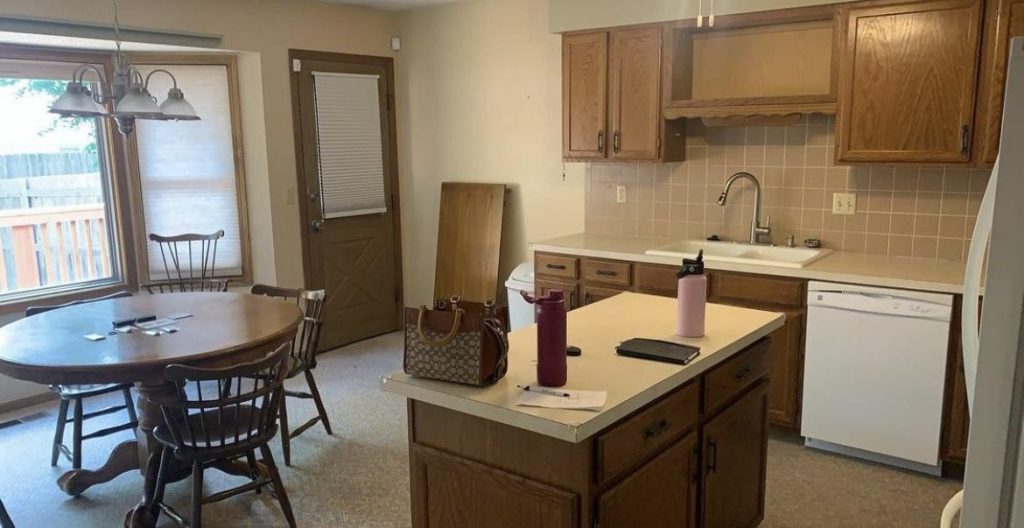
With keys in hand and walking back into our new home after closing, all I can see is the carpet in the kitchen and bathroom, outdated wallpaper, and a kitchen layout that doesn’t function the way it needs to—the list goes on and on. We want this place to feel like “ours” and we know what has to be done. Same layout; updated finishes; all done on a budget commiserate with a young couple in their early 20s.
We bought this house two months before our apartment’s lease was over so we need all the help we can get—time is ticking!
-Lea (a first-time home buyer who doesn’t know what she’s doing)
Week #2
Since my parents, Austin, and I are renovating the home ourselves, and we only have two and a half months before move-in, time is of the essence and we’re wasting no time. The first thing to go is this 30 year old carpet. It is everywhere…the living room, kitchen, hallway, and bathroom. As we’re removing this carpet, the trim has to go as well. Tearing out carpet is not the most fun, although it definitely got us excited that we’re one step closer to finishing. Oh, and the wallpaper has to go, too. Did I mention that?! We’re patching, priming, and taping off all the walls to paint the entire house.
-Lea (a first time home buyer who doesn’t enjoy ripping out carpet)
Week #3
We removed the kitchen island, took out all the cabinet doors and drawers and hardware and began sanding. I don’t think I have ever sanded this much in my entire life.
At some point along the way, we discovered there was no built-in microwave and there was no way we will resort to putting a microwave on the countertop. So, my dad cut the cabinets above the range to fit a microwave and added a vent.
For the floors…oh man! A little background; there are bay windows on both sides of the house (which are great, we love them) but they have added enough weight to each side of the house causing the floor to deflect lower by over an inch. We simply can’t let this slide since we are planning to add wood floors. So, we are leveling the floor with concrete, and leveling out the area right in front of the shower in the restroom while we’re at it.
-Lea (a first time home buyer who has never sanded so much in her life and hopefully never will have to again)
Week #4
With about a month before move in…time is ticking.
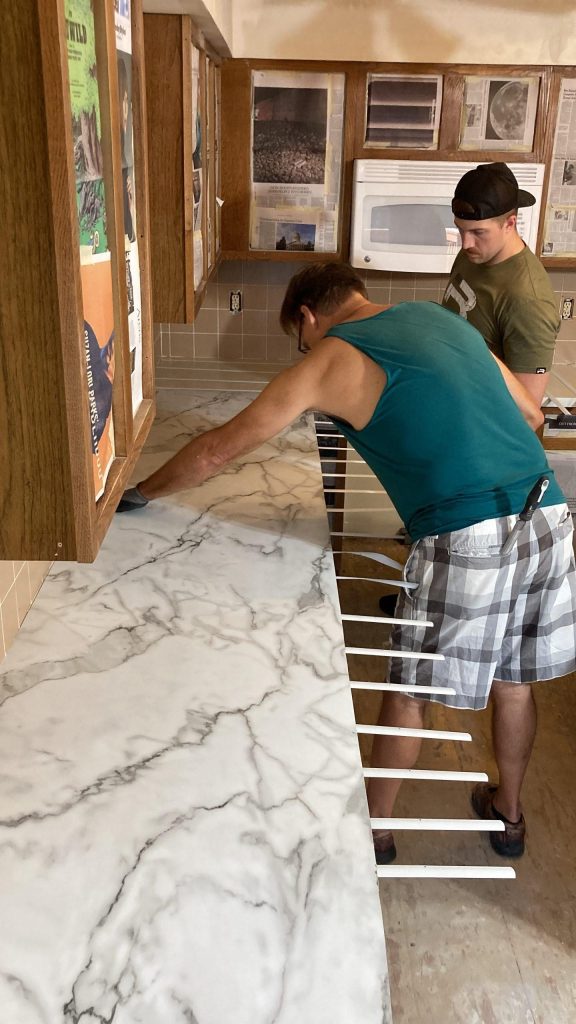
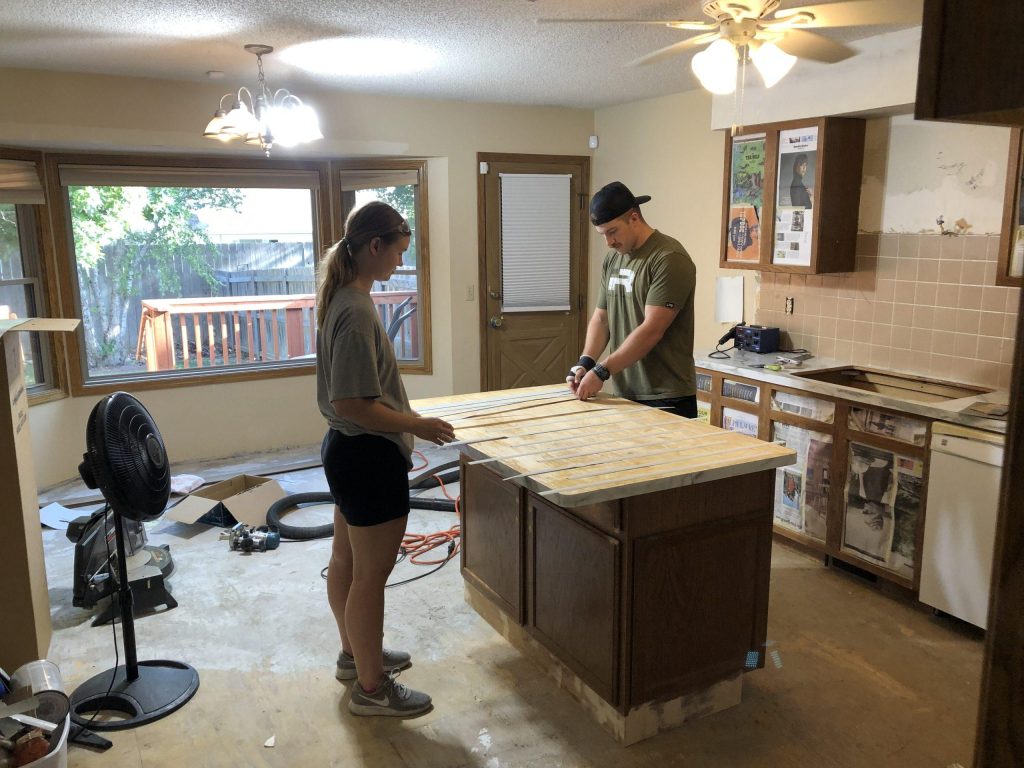
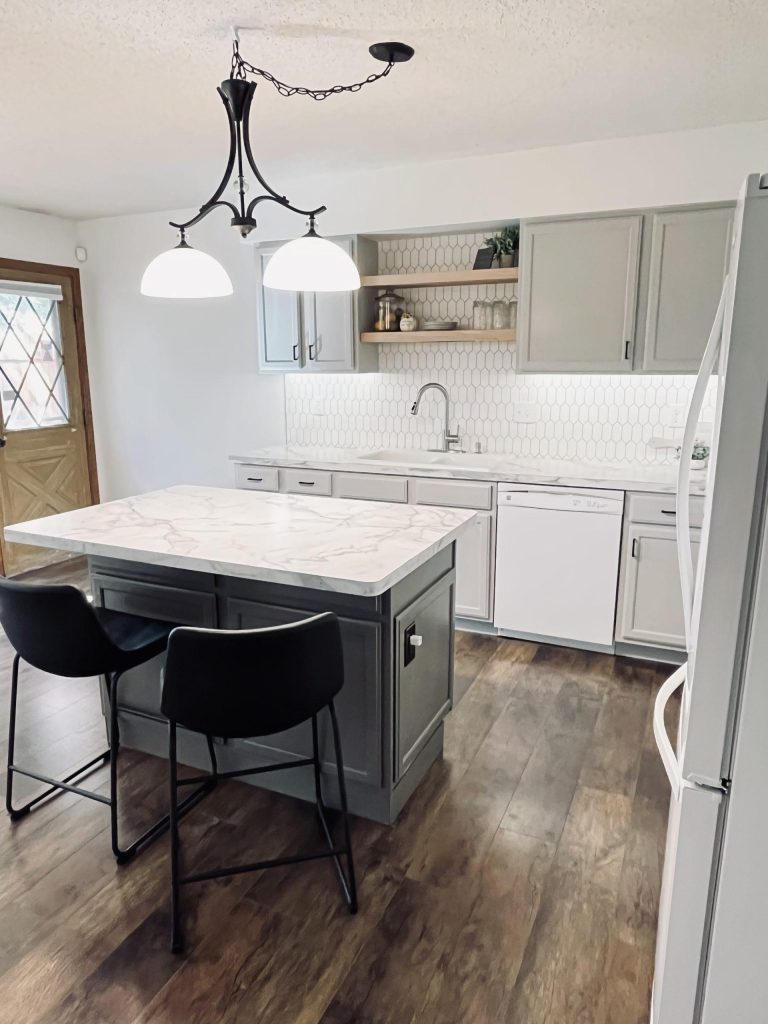
With all the “pretty things” arriving, it’s getting really exciting! We taped up newspaper on all the cabinets to get them ready for paint. We installed laminate over the existing countertops. Oh, and we have a new island top. We decided to use the existing island and my awesome dad fashioned it with a new top. We’re getting there!
-Lea (a first time home buyer who is learning so many things I never knew how to do)
Week #5
Everything is starting to come together and it’s feeling more like “home”—not a construction zone.
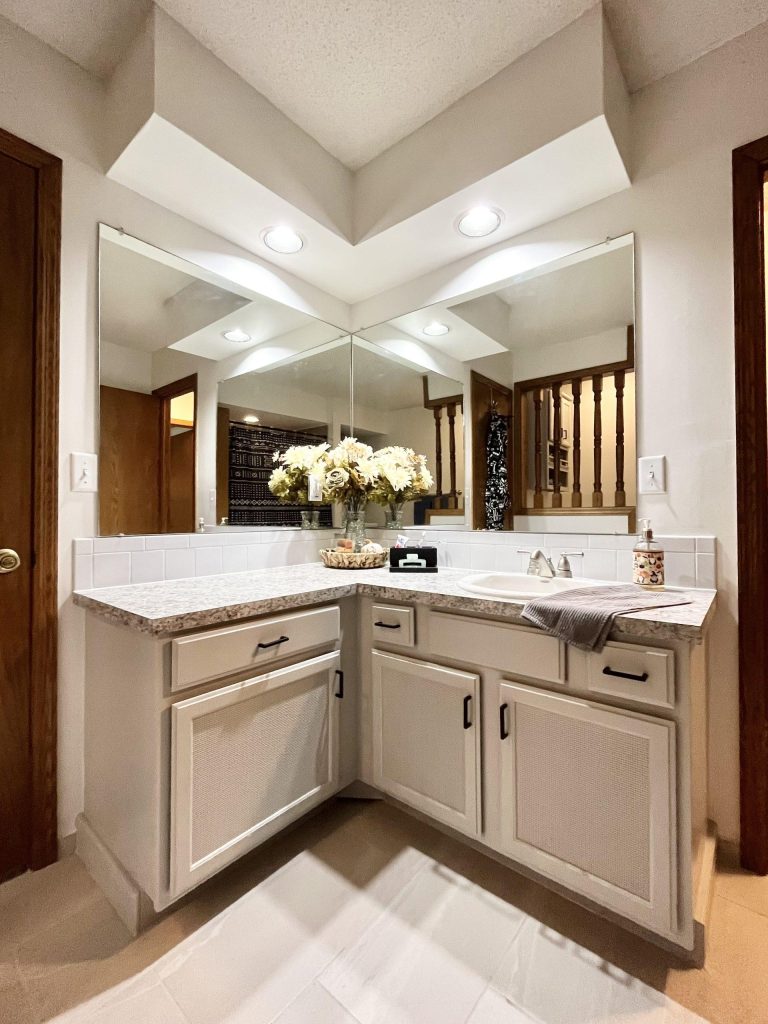
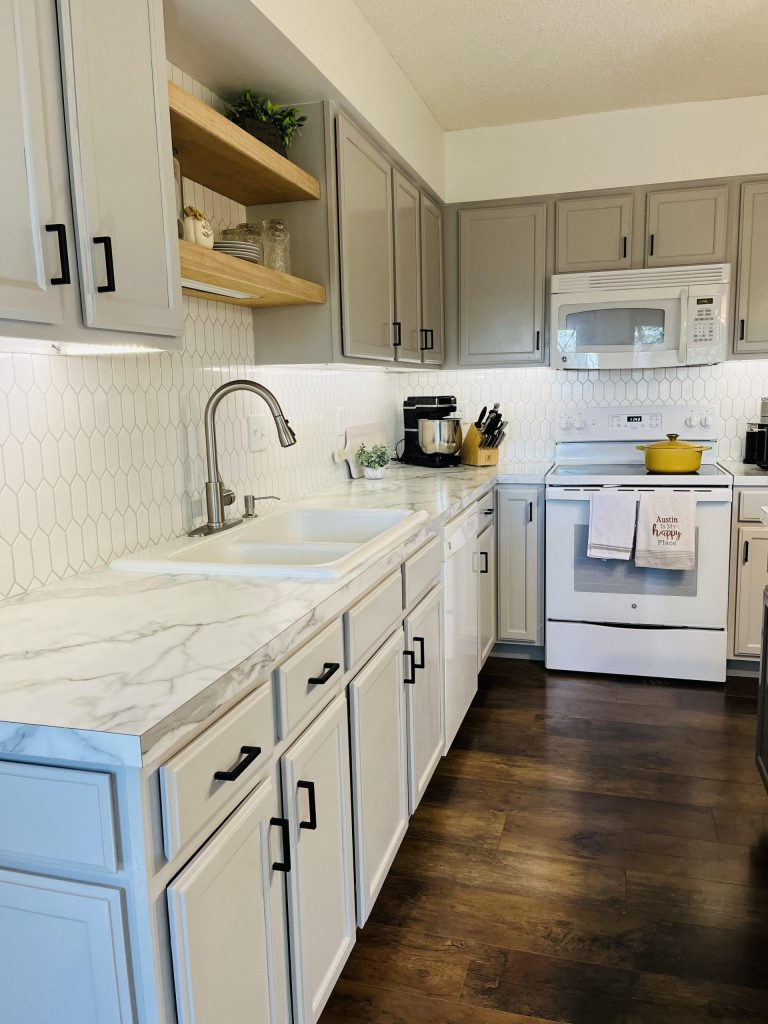
After sanding the cabinets, doors, and drawers, we painted them. To keep the space light and bright, we opted for light grey paint on the cabinets and a dark grey for the island. To keep things consistent across our home, we carried the same light grey into the bathroom. We also installed new laminate countertop in the bathroom that complimented the existing brown shower and trim. We’re almost there!
-Lea (a first time home buyer who is very excited to move in)
Week #6
Time is ticking and some late nights are in our future.
Laying and cutting tile is quite the process! Luckily, we have only bit to do. We chose 12×24 tile because we are on a budget and this stuff is very affordable. Secondly, we found the perfect tile with grey and brown patches that compliment the shower and trim. We plan to remove the brown spindles but haven’t gotten around to taking them out yet—trust me, though, they will not be staying!
The woman that lived here prior was nearly 101 years old when she passed away. I mention this because of the washer and dryer in the master bath. This configuration made it easier for her to do laundry without going up and down stairs. We thought this was a convenient arrangement, so we left it. We’re getting SO close!
-Lea (a first time home buyer who learned that installing tile is the number one thing I hate doing the most)
Week #7
It’s the final week before move in.
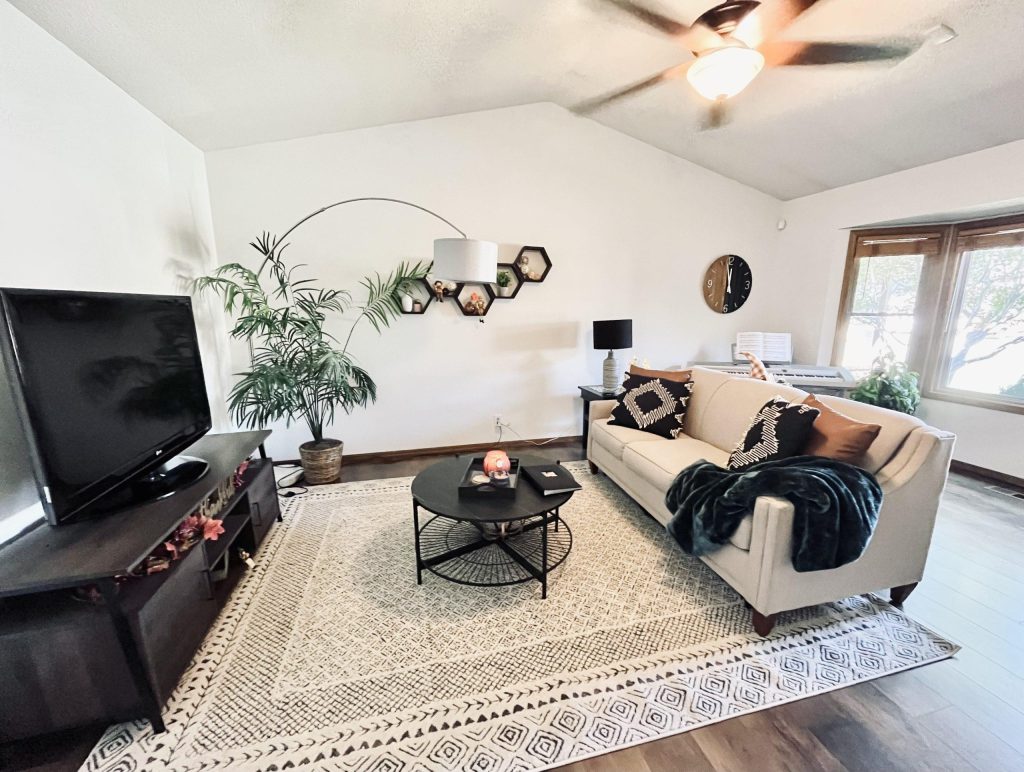
We are installing flooring in the kitchen, living room, and hallway. It’s going quickly now that we’re rolling. After the flooring is down, we are reinstalling the trim, painting the rest of the house, and installing a tile backsplash in the kitchen.
Now, a TON of minor things; install the new island, change outlets, install new light fixtures, add under-cabinet lighting, shelves…the list goes on. Our timing couldn’t had been more perfect for having everything we needed done before move in.
-Lea (a first time home buyer who just wants to be moved in already)

Week #8
It’s done!
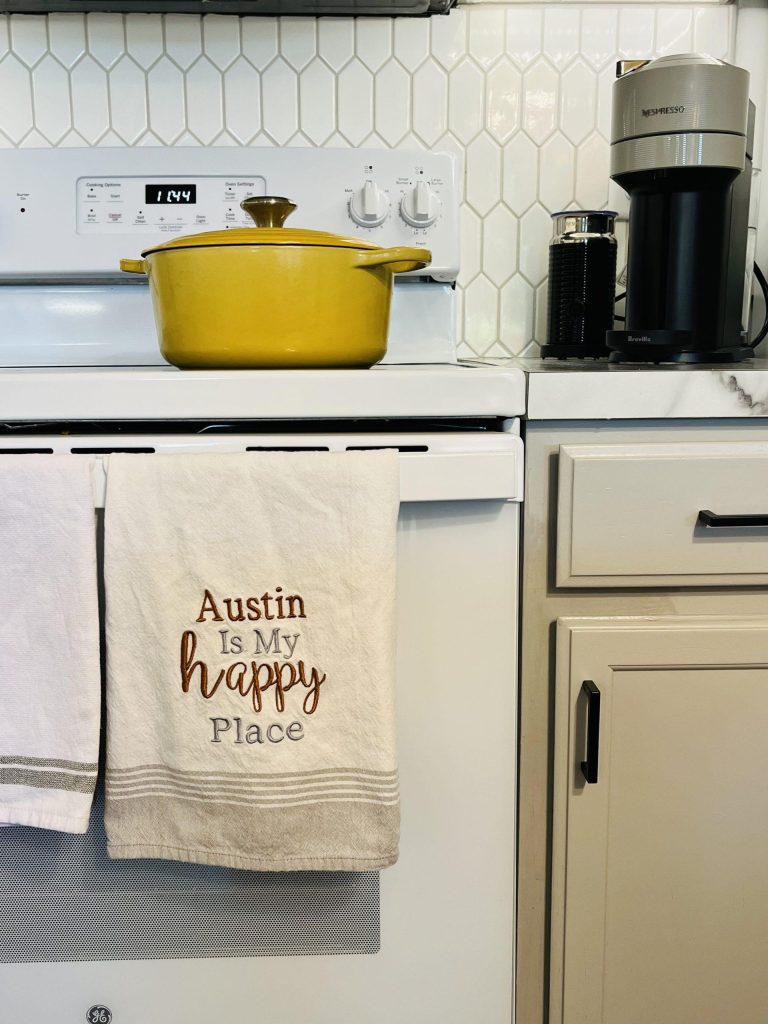
After the many late nights and the amount of time we’ve spent, I wouldn’t change a thing. Working through this renovation has taught me so much. Not only have I learned how to cut tile and lay a countertop, it proved to me how a few small changes can dramatically change a space—even on a budget. By changing the direction of the island and altering the color of the paint on the wall, our small customizations have quite literally transformed this house into our home.
Also, I learned how thankful I am for such great support. I couldn’t have done this without my parents, Austin, and the rest of our family and friends who have been helping us every step of the way.
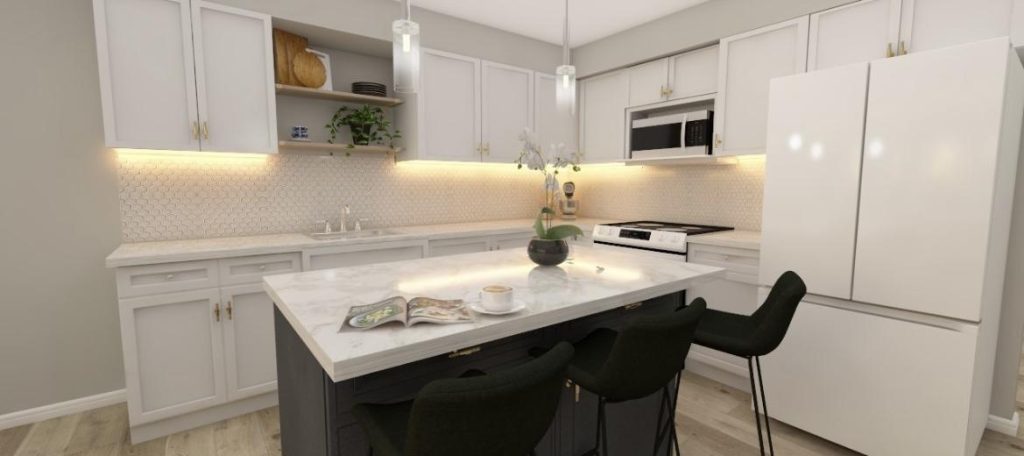
Taking a step back and looking at our initial renderings of the kitchen, I can’t help but notice how well they compare to the real deal. The vision has become our reality.
-Lea (a first time home buyer who wants to do this all again)
And, here is the rendering we created at the beginning of the project. It came out so well!